1. Introduction: Why Start This Project?
As a developer, I’ve always had a small obsession:
I want to make a game that truly belongs to me.
Not for commercialization, and not to build something overly complex—
I just want to combine writing code with something fun.
That’s how this idea came up:
A cozy, healing-style cat-raising Web mini game.
- Casual
- Relaxing
- Open the browser and “raise a cat in the cloud” Of course, ideals are beautiful—but reality is often less so.
Challenge #1: Limited Art Resources
- I can’t draw
- No budget to hire an artist So the solution is simple and straightforward:
Use high-quality free 2D pixel art assets from the internet.
The main sources I currently use include:
- Itch.io They’re free, stable in quality, and perfect for beginner projects.
Challenge #2: Limited Development Resources
- I’m working solo
- Time and energy are limited For the tech stack, I chose Cocos Creator.
Main reasons:
- Very friendly to TypeScript
- One-click publishing to Web / iOS / Android
- Mature engine with a solid ecosystem
- Strong support for 2D games Between features and complexity, Cocos offers a very balanced choice.
2. Step One: Laying the Foundation of the Game World — The Map
Before writing any gameplay logic, the first thing I focused on was:
Building the foundation of the game world.
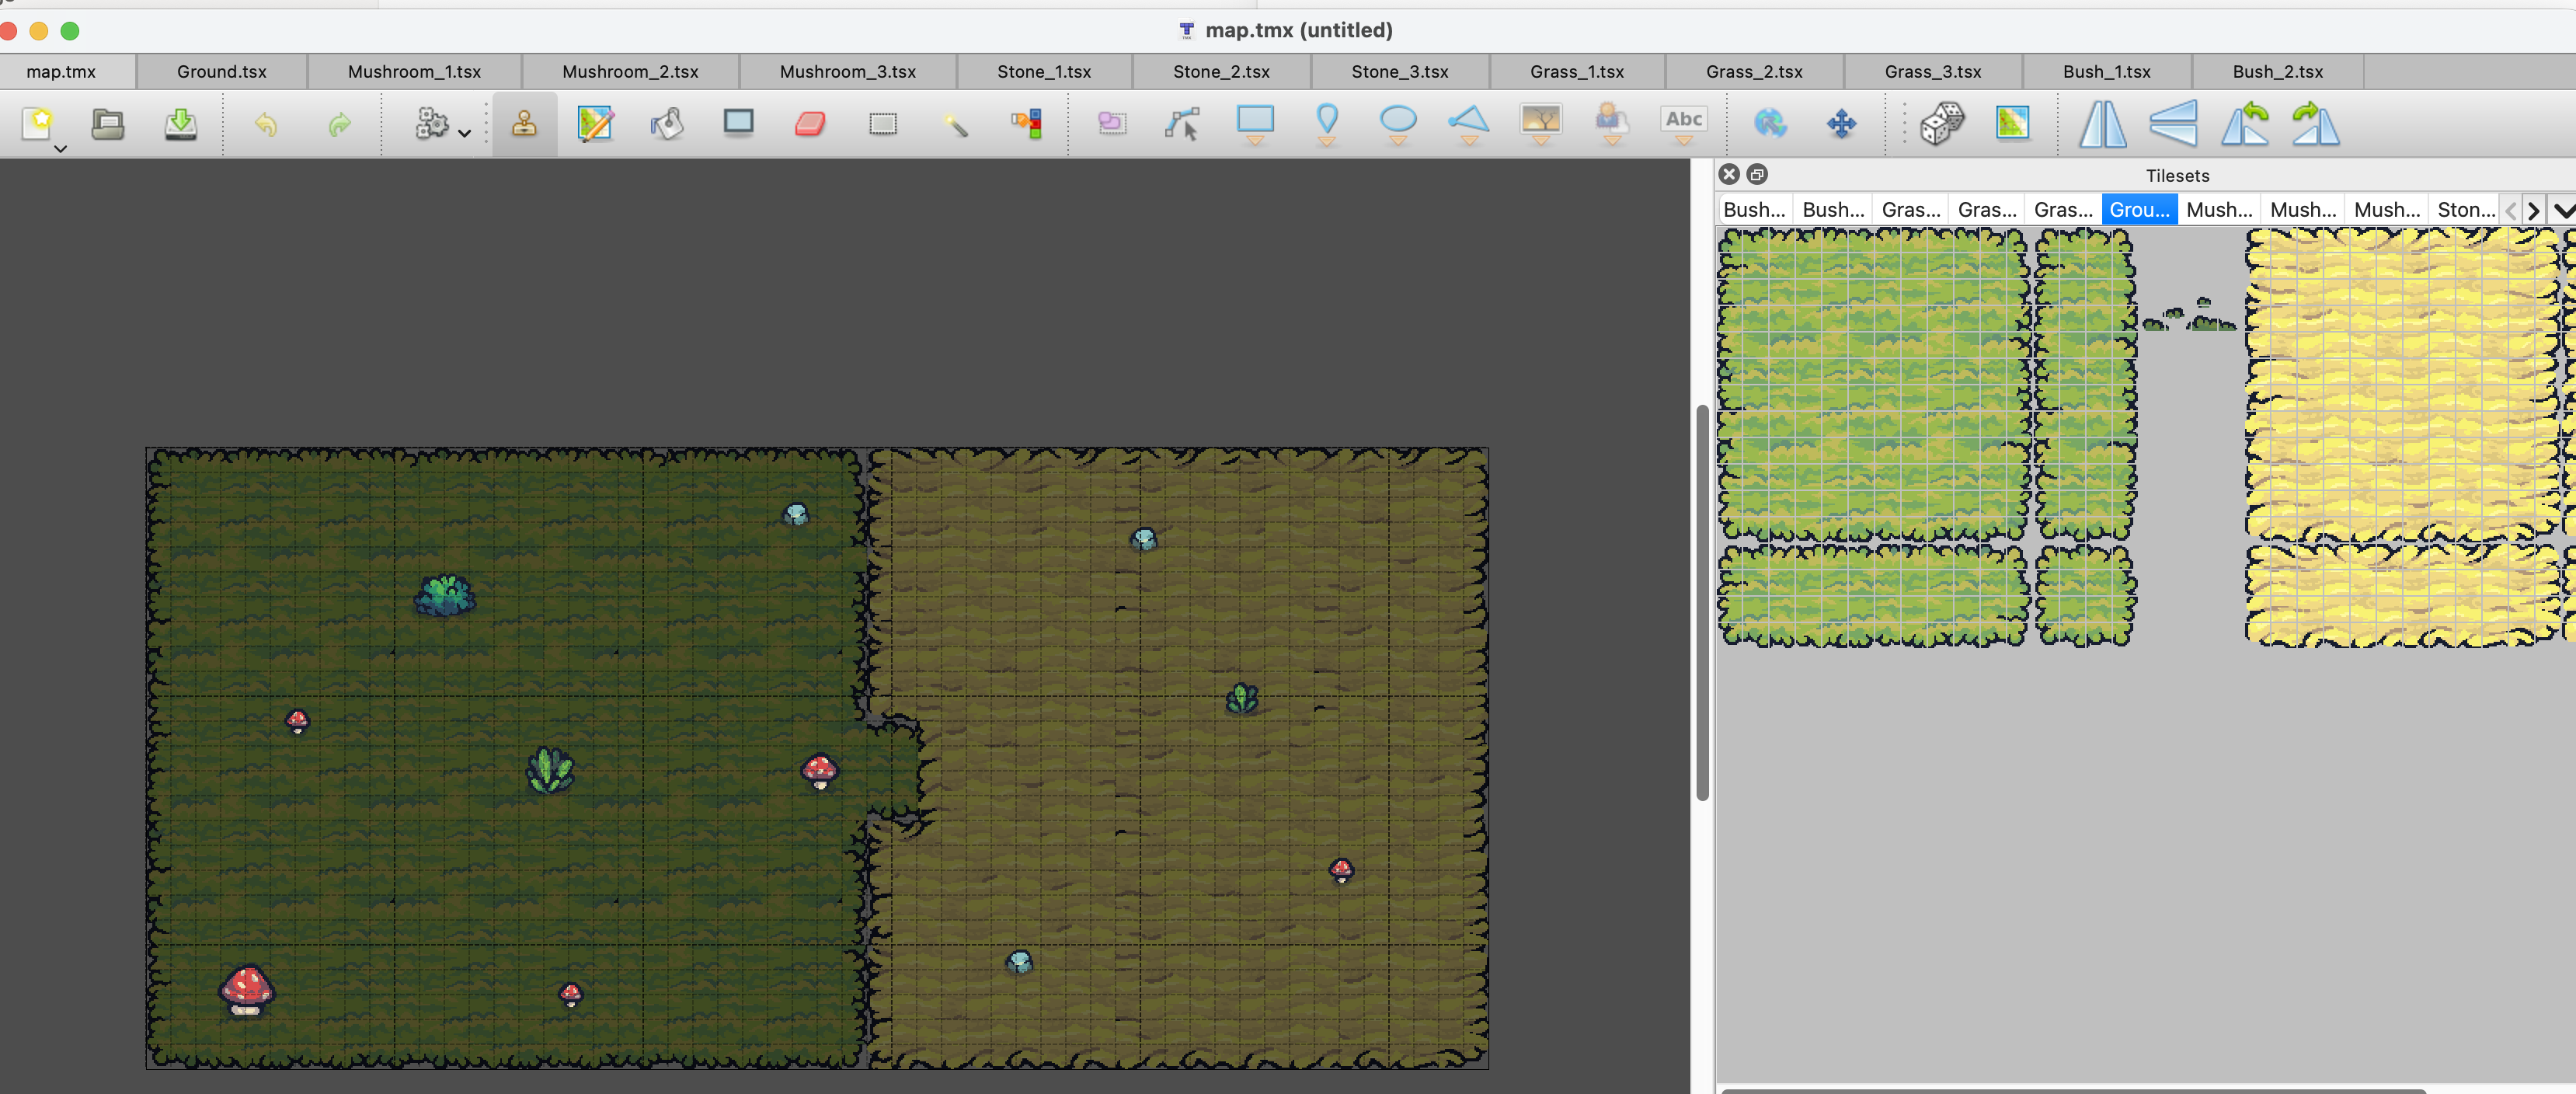
The core tool used here is:
Tiled Map Editor
What Is a Tilemap?
Simply put:
Use many small tiles
Assemble them like a puzzle
To create a large game world The advantages are very clear:
High asset reuse
Low cost for map modifications
Performance-friendly
Perfect for 2D games For beginners, Tilemaps are almost a default choice.
3. Map Layering (Layering Strategy)
I split my map into three layers.
The goal isn’t just cleaner structure—
more importantly, it’s rendering performance optimization.
Layer 1 & Layer 2: Base Terrain Layers
Content:
- Grass
- Sand / Ground
Why split base terrain into two layers?
1️⃣ Editing Convenience
Easier handling of transitions between different terrains
Brushes don’t interfere with each other
Lower modification cost 2️⃣ Rendering Optimization (Draw Calls & Culling)
Large, purely static terrain works well as separate layers
In Cocos, this allows better use of culling
- Off-screen terrain doesn’t need to be rendered
Static background layers can be batched by the engine
- Significantly reduces draw calls
- Lowers rendering pressure on Web platforms
Layer 3: Decoration / Obstacle Layer
Content:
Mushrooms
Rocks
Trees and other decorations The key purpose of this layer:
These objects often have occlusion relationships
Or require collision volumes later on Separating them provides two clear benefits:
Easy to uniformly add
Collider / RigidBodycomponents in Cocos laterNo need to pollute complex terrain layers with logic concerns Terrain handles the “ground,”
decorations handle the “objects”—
clear responsibilities, clean structure.
4. Practical Workflow
This stage is mostly manual work, but it’s surprisingly relaxing.
1️⃣ Import Assets
- Download pixel-art tilesets
- Import them into Tiled
- Ensure consistent tile sizes (e.g. 16×16 or 32×32)
2️⃣ Paint the Base Terrain
- Fill the background with grass first
- Use sand/ground to draw paths or specific areas
3️⃣ Add Decorations
- Switch to Layer 3
- Place rocks and mushrooms
- Make the map feel less empty
4️⃣ Import into Cocos Creator
- Drag the generated
.tmxfile directly into Cocos - Preview the result in the editor
- Verify layers and rendering behavior Seeing the map appear correctly in the engine is genuinely satisfying.
5. Summary & Next Steps
At the moment, this project is still at a very early stage:
Map structure is finalized
Layering strategy is validated
Assets and workflow are running smoothly Next steps include:
Adding the cat character
Implementing basic behavior logic
Simple interactions (clicking, feeding, etc.) This DevLog series will aim to stay:
Beginner-oriented
Honest about mistakes and pitfalls
Step-by-step and realistic If you’re also interested in game development—or working solo with limited resources—there’s no need to put too much pressure on yourself.
Break the project into small pieces and move forward slowly.That alone already puts you ahead of many “idea-only” projects.